
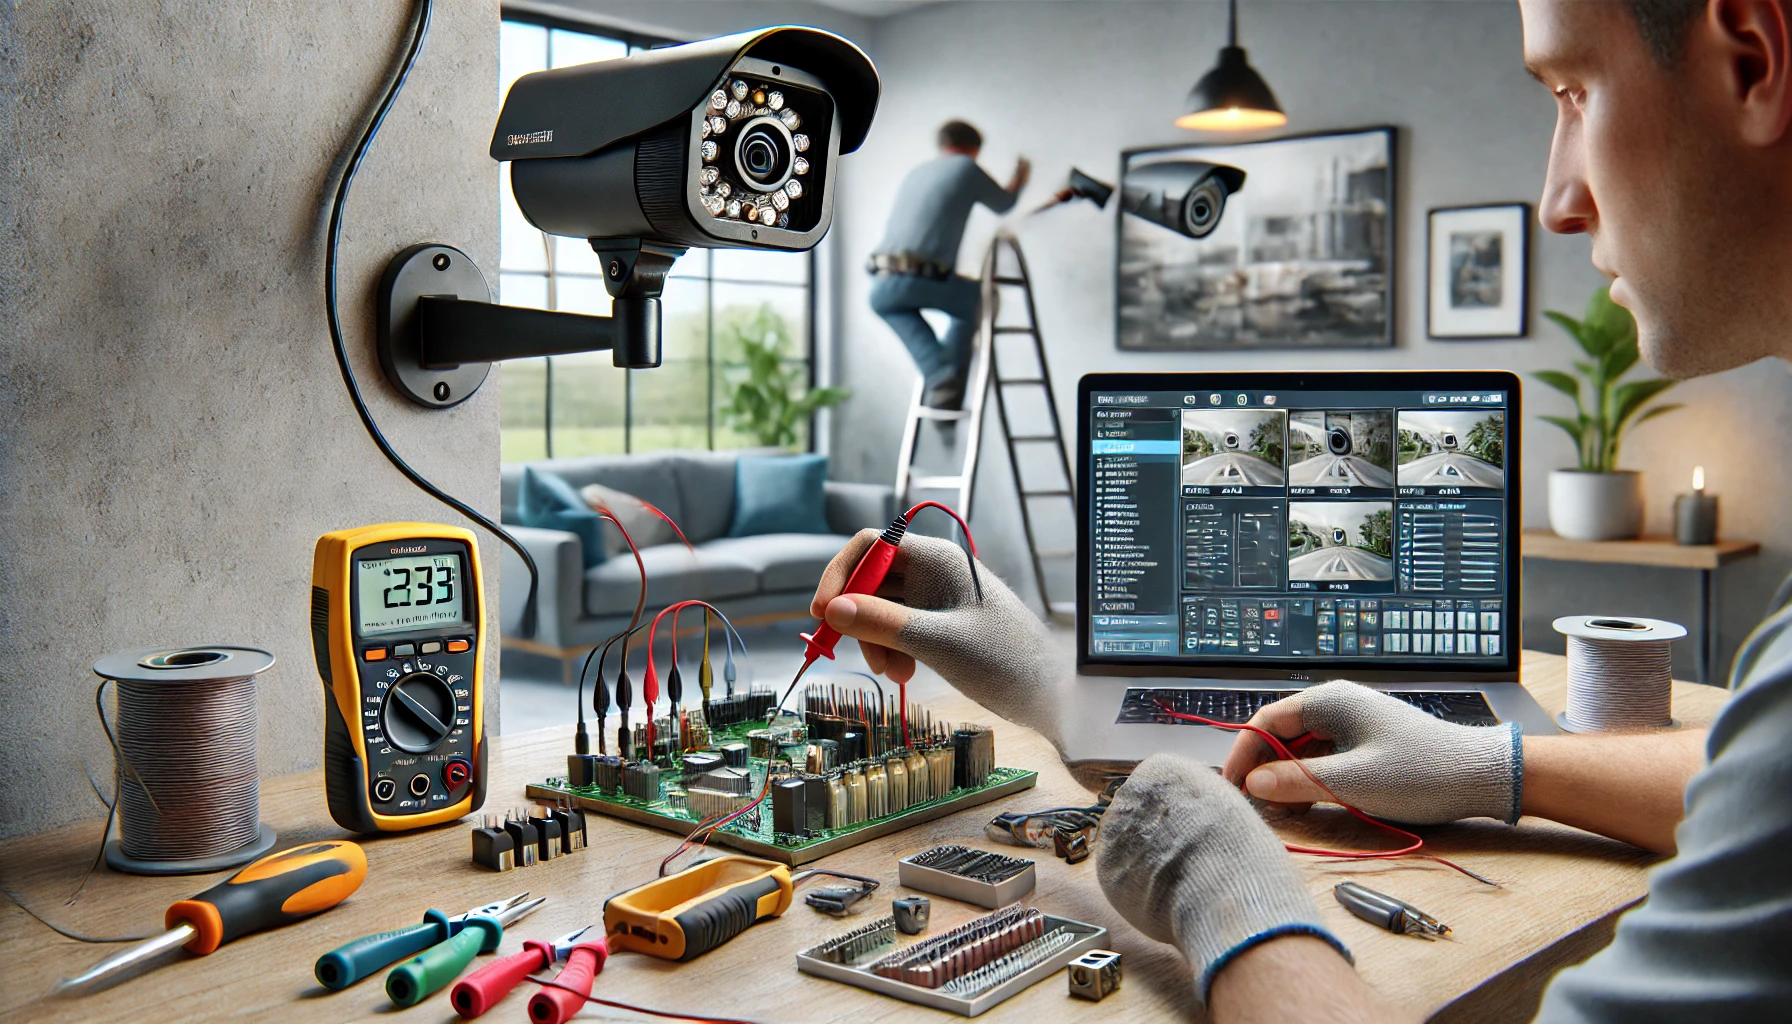
A well-functioning CCTV system is essential for maintaining the safety and security of your home. However, like any electronic device, CCTV systems can experience occasional issues that may disrupt their performance. Fortunately, many of these problems can be identified and resolved without professional assistance. This guide will walk you through the most frequent CCTV issues, their causes, and how to fix them to ensure your system operates optimally.
No Video Signal
What Causes This Issue?
A lack of video signal is one of the most common issues in CCTV systems and may arise due to:
- Loose or damaged cables
- Power supply problems
- Faulty cameras or connectors
How To Fix It
Step 1: Check the Power Supply
Ensure that your CCTV cameras and DVR/NVR (Digital Video Recorder/Network Video Recorder) are receiving adequate power. Verify that:
- Power adapters are securely plugged in.
- There are no disruptions to your electrical outlets.
Step 2: Inspect the Cables
Examine the cables for any visible damage, such as fraying or cuts. If a cable appears damaged, replace it immediately. Also, check for loose or disconnected cables and reconnect them securely.
Step 3: Test the Camera on Another Port
To determine if the problem lies with the camera or the DVR/NVR port, connect the camera to a different channel or port. If the camera works on a new port, the issue may be with the original port or connector.
Blurry Or Distorted Video Footage
What Causes This Issue?
Blurry or distorted video footage is often caused by:
- Dirty camera lenses
- Incorrect focus settings
- Hardware or software malfunctions
How To Fix It
Step 1: Clean the Camera Lens
Dirt, dust, or water spots can obscure the lens, resulting in blurry footage. Use a microfiber cloth and lens cleaner to gently clean the lens, ensuring no residue is left behind.
Step 2: Adjust Focus Settings
If your camera has manual focus controls, fine-tune them to achieve a sharp image. For motorized or advanced cameras, use the DVR interface or the associated app to adjust the focus digitally.
Step 3: Inspect Image Settings
Access the camera’s settings to review brightness, contrast, and resolution configurations. Reset these settings to default if they appear to be misconfigured.
Night Vision Not Working
What Causes This Issue?
Night vision failures are typically linked to:
- Infrared (IR) LED malfunctions
- Dirty or blocked IR sensors
- Insufficient power supply
How To Fix It
Step 1: Inspect the IR LEDs
To check if the infrared LEDs are working, cover the camera lens with your hand and look for a faint red glow when it gets dark. If there’s no glow, the IR LEDs may need replacing.
Step 2: Clean the IR Sensors
IR sensors can be blocked by dirt or debris. Use a dry cloth to clean the sensors carefully, ensuring there is no obstruction.
Step 3: Verify Power Supply
Ensure that the camera has adequate power, as night vision features typically consume more energy. If necessary, upgrade to a higher-capacity power supply.
DVR/NVR Not Recording Footage
What Causes This Issue?
Recording issues often arise from:
- Incorrect recording settings
- Storage problems
- Hardware malfunctions
How To Fix It
Step 1: Check the Recording Schedule
Open the DVR/NVR settings and confirm that the recording schedule is properly configured. Ensure motion detection or continuous recording options are enabled.
Step 2: Inspect Storage Capacity
Verify that your storage medium, whether a hard drive or cloud service, has sufficient space. Delete old or unimportant footage to free up capacity if needed.
Step 3: Restart the System
A simple restart of the DVR/NVR can often resolve minor software glitches that may be affecting recording functionality.
Motion Detection Not Triggering Alerts
What Causes This Issue?
Motion detection problems may be caused by:
- Improper motion detection settings
- Low camera sensitivity levels
- Environmental interference
How To Fix It
Step 1: Adjust Sensitivity Levels
Access the motion detection settings and increase the sensitivity level. Be cautious not to set it too high, as this could lead to false alarms.
Step 2: Define Motion Zones
Most cameras allow you to designate specific motion zones. By focusing on high-priority areas, you can reduce unnecessary alerts.
Step 3: Check for Obstructions
Ensure the camera’s view is clear of any obstacles, such as tree branches or debris, which may block or interfere with motion detection.
Loss Of Remote Access
What Causes This Issue?
Remote access issues are often due to:
- Internet connectivity problems
- Incorrect network configurations
- Outdated firmware or apps
How To Fix It
Step 1: Test Your Internet Connection
Make sure that both your CCTV system and the device you’re using to access it remotely are connected to stable internet.
Step 2: Check Network Settings
Review your router and DVR/NVR network configurations. Port forwarding may be necessary to enable remote access.
Step 3: Update Firmware and Apps
Outdated software can cause compatibility issues. Update your CCTV system’s firmware and the mobile app to their latest versions.
Camera Not Powering On
What Causes This Issue?
Cameras that fail to power on may have:
- Faulty power adapters
- Damaged cables
- Hardware malfunctions
How To Fix It
Step 1: Inspect the Power Adapter
Test the power adapter with another device to confirm it’s functioning. If it’s defective, replace it.
Step 2: Replace Damaged Cables
Check the power cables for visible damage, such as cuts or fraying. Replace any damaged cables immediately.
Step 3: Test the Camera
Connect the camera to a different power source or use a new adapter to determine if the problem lies with the camera itself.
Image Flickering Or Static
What Causes This Issue?
Image flickering or static can occur due to:
- Electrical interference
- Faulty cables
- Signal loss
How To Fix It
Step 1: Eliminate Interference
Position CCTV cables away from electrical lines or devices that emit electromagnetic interference, such as Wi-Fi routers.
Step 2: Replace Faulty Cables
Inspect the video cables for damage and replace them as needed.
Step 3: Adjust Camera Placement
Ensure that the cameras are installed in areas with a stable signal and minimal environmental interference.
Preventive Maintenance Tips
- Regular Inspections
Conduct monthly checks of your entire CCTV system to identify and address potential issues before they escalate. - Backup Power Solutions
Install uninterruptible power supplies (UPS) or backup batteries to prevent system downtime during power outages. - Professional Servicing
Schedule an annual inspection by a professional to ensure your system remains in optimal working condition.
Troubleshooting common CCTV issues at home doesn’t have to be overwhelming. By following these practical steps, you can resolve most problems and maintain your system’s reliability. Regular maintenance and timely attention to detail will go a long way in ensuring your CCTV system provides continuous and effective security for your home.